
Want to pass a trading evaluation? Focus on price action strategies. These methods, like analyzing candlestick patterns and support/resistance levels, help traders make disciplined decisions. Here's the key to success:
- Master Key Patterns: Learn pin bars, engulfing patterns, and inside bars to spot entry/exit points.
- Risk Management: Stick to 1-2% risk per trade and respect drawdown limits.
- Breakout Trading: Wait for confirmed breakouts at strong support/resistance levels.
- Timing Matters: Trade during high-liquidity periods, like U.S. and London session overlaps.
- Practice Discipline: Avoid overtrading, revenge trading, and emotional decisions.
Passing a trading evaluation isn't luck - it's about sticking to a clear plan, managing risk, and using proven price action techniques.
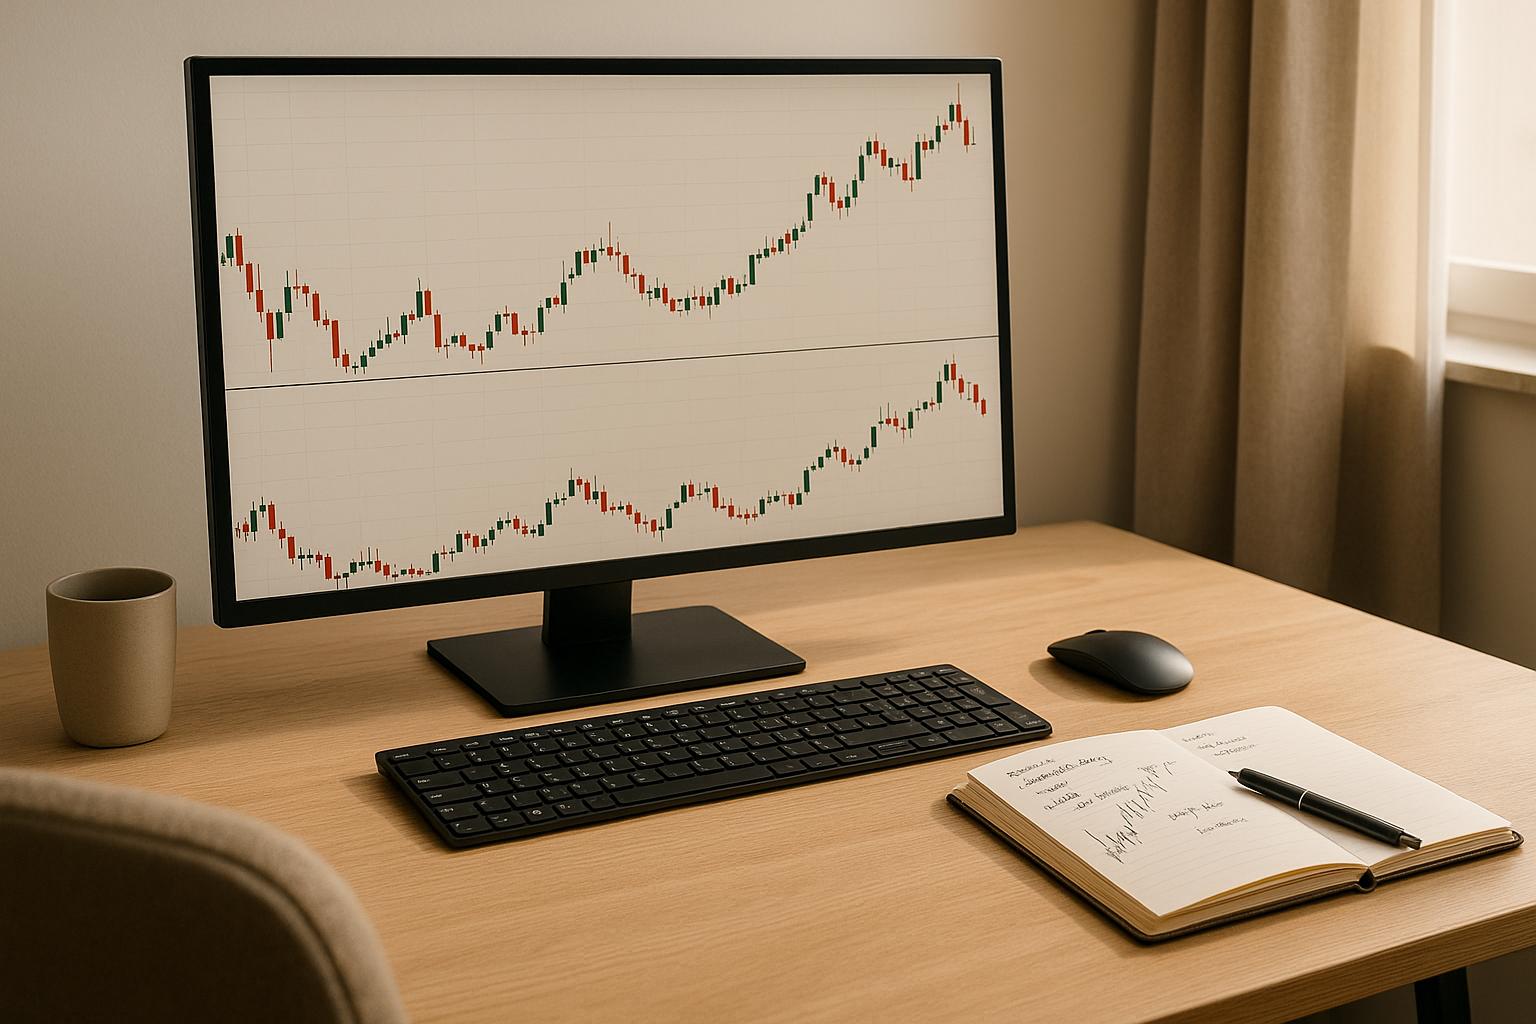
Step By Step Price Action Method To Finding The Best Entries
Price Action Patterns That Work in Trading Evaluations
Certain price action patterns can help traders identify clear entry and exit points, making them invaluable during trading evaluations. The key is to focus on setups that are dependable, easy to spot in real-time, and align with strict profit and drawdown requirements.
How to Spot Pin Bars, Engulfing Patterns, and Inside Bars
Pin bars are one of the most effective candlestick patterns for evaluation trading. These candles have a long wick and a small body, signaling that the price was rejected at a critical level. For a pin bar to be valid, the wick should make up at least two-thirds of the total length of the candle. When they appear at major support or resistance levels, they often suggest a potential reversal.
Take this example: On January 13, 2024, a bearish pin bar formed on the BTC/USD daily chart at $46,558, which was followed by a decline in Bitcoin's price. Then, on February 21, 2024, a bullish pin bar at $52,121 indicated a trend reversal. These cases highlight how pin bars can provide actionable signals in evaluation scenarios.
The long wick in a pin bar shows price rejection at a key level, often leading to a reversal.
Engulfing patterns occur when a larger candlestick fully envelops the previous one, signaling a potential shift in market momentum. A bullish engulfing pattern suggests buyers are gaining control after a period of selling, while a bearish engulfing pattern indicates the opposite. These patterns are particularly effective when paired with volume analysis.
Inside bars reflect market consolidation, where the current candle's high and low stay within the range of the previous candle. These patterns often precede breakouts, making them useful for continuation trades. Look for inside bars that form after a strong trend, and trade in the direction of the trend once the price breaks out of the inside bar's range.
When trading these patterns during evaluations, wait for confirmation before taking a position. For example, a break above resistance or a bullish indicator crossover can validate the setup. Volume analysis is also critical - patterns formed on higher-than-average volume are more likely to result in significant price moves.
These patterns naturally set the stage for breakout trading, which further sharpens entry and exit strategies.
Trading Breakouts in Simulated Accounts
Breakout trading is another straightforward, rules-based strategy that works well in evaluations. A breakout happens when the price moves beyond a clearly defined support or resistance level, often accompanied by increased volume.
To identify strong breakout opportunities, focus on well-established support and resistance levels. The more times the price has tested these levels, the more reliable they become. Avoid jumping into trades prematurely - wait for confirmed breakouts to reduce the risk of false signals.
Set realistic targets by measuring the distance between support and resistance levels or using historical price movement averages. Retests of breakout levels are common and can confirm the trade's validity. However, if the price breaks back through the prior support or resistance level, it may signal a failed breakout, and it’s best to exit the trade.
Always use stop-loss orders and stick to your exit plan, especially in breakout scenarios. If you’re holding a losing position, consider waiting until the market nears its close to exit, as intraday volatility might work in your favor.
Patience is key when trading breakouts. In evaluation environments, focus on high-probability setups rather than forcing trades that don’t meet your criteria. This disciplined approach helps build the consistency needed to pass trading evaluations.
Support and Resistance Basics for Price Action Trading
Support and resistance play a central role in price action trading. Think of support as a floor that prices tend to bounce off and resistance as a ceiling that prices struggle to break through. These levels provide clear markers for traders to make informed decisions.
"Support and resistance levels help traders find key price zones where markets often reverse or stall." – Christopher Downie, Content & Product Strategist at LuxAlgo
By understanding these levels, you can gain insight into where other traders might place their orders. This often leads to predictable price movements. For example, when Bitcoin approached a key support level around $9,000, it triggered buying interest, pushing prices higher until resistance was met near $10,000.
Finding Key Support and Resistance Levels
Identifying accurate support and resistance levels is critical for effective trading. Start by analyzing historical price charts, looking for areas where prices have reversed - these could be prominent peaks, troughs, or zones of consolidation. Pay attention to areas marked by strong rejections or high trading volume, as these often indicate significant levels.
To confirm these zones, you can use technical tools like moving averages, Bollinger Bands, or trendlines, especially when they align with past price reactions. Don’t forget about psychological levels - round numbers like $50,000 for Bitcoin, 4,000 for the S&P 500, or 1.2000 for EUR/USD often act as magnets for trader activity.
Another useful approach is to analyze multiple timeframes. For example, identify levels on a daily or weekly chart and then project them onto shorter timeframes like the hourly chart. This helps highlight the most important zones. Combining these methods can give you a clearer picture of where high-probability opportunities might exist.
Setting Entry Points, Stop-Losses, and Take-Profits
Once you’ve identified key levels, integrate them into your trading plan. Look for confirmation signals such as bullish or bearish candlestick patterns or volume spikes when entering trades near support or resistance.
For stop-loss placements, position your stops just beyond the support (for long trades) or resistance (for short trades). This helps protect against unexpected market moves while giving your trade enough breathing room. Similarly, set take-profit targets at the next significant support or resistance level, allowing you to lock in gains at logical reversal points.
Adjust your stop-loss and take-profit levels based on the asset’s volatility. More volatile markets may require wider margins to account for larger price swings. It’s also important to remember that support and resistance are not fixed numbers - they’re zones. Managing trades using the edges of these zones can help you navigate market noise and improve execution.
Finally, levels identified on longer timeframes tend to carry more weight than those from shorter charts. This means you should factor in the timeframe when deciding position sizes and managing risk. By aligning these strategies with your evaluation process, you can build greater consistency in your trading approach.
Risk Management for Trading Evaluations
When it comes to trading evaluations, having a disciplined approach to risk management is just as important as crafting sound entry and exit strategies. These evaluations often come with strict rules that can end your challenge if not carefully followed, making risk management a cornerstone of success.
Trading evaluations are structured around achieving specific profit targets while adhering to strict drawdown limits. This means every decision you make must balance the drive for profits with the need to control risk. It's a delicate dance, but one that is essential for long-term success.
Position Sizing and Controlling Drawdowns
The backbone of effective risk management is position sizing. Professional fund managers, for instance, generally risk no more than 2% of their capital on any single trade. This is a lesson many intraday traders learn the hard way - 80% of them quit within two years due to poor position sizing.
To set up your position size, follow these steps:
- Decide on your maximum risk per trade, typically 1%–2% of your account value.
- Use price action analysis to determine a proper stop-loss level.
- Calculate your position size by dividing your maximum risk by the difference between your entry price and stop-loss.
Here’s a practical example: If you have a $25,000 account and decide to risk 2% ($500) per trade, and you’re buying Apple at $160 with a stop-loss at $140, your risk per share is $20. This means you can purchase 25 shares.
The same logic applies to cryptocurrency trading. Say you have a $50,000 account and are willing to risk 1% ($500) on a Bitcoin trade priced at $50,000, with a stop-loss set at $45,000. With a $5,000 risk per unit, your position size would be 0.1 Bitcoin.
Another critical aspect is monitoring your account equity to manage drawdowns. For instance, a 10% drawdown requires an 11.1% recovery to break even, while a 50% drawdown demands a 100% gain. Accounts with strict drawdown rules are often better equipped to weather market downturns and preserve capital.
Meeting Profit Targets While Managing Risk
Once you’ve nailed down precise position sizing, the next step is to balance profit targets with controlled risk. Unrealistic expectations are a common trap - 90% of day traders lose money in their first year because they aim too high. Setting daily loss limits, such as 1%–2% of your account value, can help prevent a single bad day from wrecking your evaluation. For example, if you have a $100,000 account, you should cap daily losses at $1,000–$2,000.
Aiming for a risk-reward ratio of at least 1:1.5 is another way to stay profitable, even with a win rate below 50%. Adjusting your position sizes based on market volatility and analyzing performance across different conditions can also improve your odds.
Diversifying your trades across multiple patterns is another smart move. Instead of relying on just one strategy, spread your trades across various setups like pin bars, engulfing patterns, and breakout trades to distribute risk.
As your profits grow, consider reducing your position sizes to protect your gains. Avoid the temptation to increase risk in pursuit of higher targets - it’s a strategy that often backfires. By staying disciplined and focused, you can navigate trading evaluations with confidence and control.
Matching Price Action Methods to Evaluation Rules
Using time-tested price action techniques combined with disciplined risk management is essential for meeting evaluation rules. To successfully pass a trading evaluation, you need to align your price action strategy with specific profit targets and drawdown limits. Below, we'll explore common mistakes and timing considerations to help you adapt your approach effectively.
Trading evaluations demand a structured strategy with clear risk-reward setups. Since evaluations often come with strict time limits and drawdown rules, it’s crucial to focus on setups that align with these parameters. Aim for trades that offer a strong risk-reward ratio while staying within the evaluation’s profit and risk boundaries.
Instead of acting on every pin bar or engulfing pattern you see, prioritize patterns forming at key support and resistance levels, especially those supported by additional confluence factors.
When refining your setups, keep drawdown limits in mind. Most evaluations cap maximum drawdown at 10–15% of the account. This requires careful position sizing and setup selection to stay within these constraints.
Common Evaluation Mistakes to Avoid
One of the biggest pitfalls in trading evaluations is overtrading. In the rush to meet profit targets, traders often take subpar setups that don’t meet their criteria. This approach rarely works - 90% of day traders chasing unrealistic returns lose money within their first year.
Revenge trading is another common error. After a loss, it’s tempting to jump into another trade without proper confirmation, often ignoring critical support and resistance levels. This emotional reaction usually leads to further losses.
Another mistake is ignoring the broader market context. For instance, a pin bar that forms during low-volume hours won’t carry the same weight as one that develops during active trading periods. Evaluating patterns within the larger market environment is essential.
Emotions can derail even the best strategies. When nearing drawdown limits or falling short of profit targets, traders often abandon their systematic approach. Understanding why every trader needs a trading journal can help you recognize when emotions are driving your decisions and allow you to course-correct.
Overleveraging is another major risk. While a setup may be technically sound, taking oversized positions can lead to breaching drawdown limits before profitable trades have a chance to play out. Stick to a consistent risk-per-trade - ideally 1–2% of your account value - no matter how confident you feel about a particular trade.
Trading Around U.S. Market Hours and News Events
Timing plays a critical role in trading evaluations, alongside risk management and setup selection. High-liquidity periods, such as the overlap of major trading sessions, often produce more reliable signals. For U.S. market hours, focus on the 8:00 AM to 12:00 PM EST window, when trading activity is at its peak.
Economic news events, like Non-Farm Payrolls, Federal Reserve announcements, or GDP releases, can disrupt technical levels in an instant. During evaluations, it’s often safer to avoid trading just before or after high-impact news releases, as these periods can lead to unpredictable price swings.
The U.S. market open at 9:30 AM EST is another critical time. While it often creates breakout opportunities, the initial volatility from institutional orders can also generate false signals. Waiting 15–30 minutes after the open allows the market to stabilize, improving the reliability of breakout patterns.
Pre-market and after-hours trading come with their own challenges. Lower trading volumes during these times can make support and resistance levels less dependable. If your evaluation permits trading during these periods, consider reducing your position sizes and waiting for stronger confirmation before entering a trade.
Lastly, the currency pairs you trade can impact your success during U.S. market hours. Major pairs like EUR/USD and GBP/USD tend to provide more consistent signals during active sessions, while exotic pairs often behave erratically and may not adhere to traditional technical levels. Choosing the right pairs can make a significant difference in your evaluation performance.
Conclusion: Using Price Action to Pass Your Evaluation
To succeed in your prop firm evaluation, disciplined price action techniques paired with solid risk management are essential. The reality is that only a small percentage of traders successfully pass these challenges, making it crucial to approach the process with a clear and structured plan rather than relying on random wins.
Understanding the prop firm's targets and rules is the first step. These guidelines aren't there to hinder you - they're designed to steer you toward consistent, profitable trading by focusing on setups with favorable risk-to-reward ratios.
When crafting your price action strategy, prioritize quality over quantity. Concentrate on high-probability setups that align with critical support and resistance levels. Prop firms evaluate traders based on specific performance metrics, including profit margins, win rates, and adherence to risk management protocols. By aligning your strategy with these criteria, you set yourself up for success.
Before diving into a live evaluation, practice extensively in a demo account to replicate real evaluation conditions. Stick to consistent position sizing and predefined stop-loss and take-profit levels. This not only protects your capital but also helps you build the discipline needed to minimize risks.
Passing your evaluation isn’t about chasing random wins - it’s about sticking to a well-thought-out trading plan, staying composed during drawdowns, and rigorously following the firm's rules. These elements form the foundation of a sustainable trading career, as discussed in earlier sections.
As you gear up for your For Traders evaluation, remember that the firm's guidelines are more than just rules - they're a framework designed to help you access significant capital and profit-sharing opportunities. Embrace them as part of your journey toward long-term trading success.
FAQs
What are the biggest mistakes traders make during a trading evaluation, and how can they avoid them?
One of the biggest missteps traders make during evaluations is jumping in without a solid plan. Trading without a structured approach often leads to snap decisions - and those can quickly translate into avoidable losses. The solution? Develop a clear trading plan that spells out your strategy, risk limits, and objectives. And most importantly, stick to it, no matter what.
Another common pitfall is overtrading, which is often driven by emotions like frustration or greed. Instead of chasing every opportunity, focus on quality over quantity. Wait for setups that truly align with your strategy and offer a higher probability of success. Patience and discipline can make all the difference here.
Lastly, neglecting risk management can completely throw off your progress. Always use stop-loss orders to cap potential losses, and never risk more than a small portion of your account balance on a single trade. By staying disciplined and keeping risk under control, you’ll set yourself up for a much better shot at successfully passing the evaluation.
How can I use price action strategies to manage risk and meet profit targets during a trading evaluation?
To successfully manage risk and hit your profit targets during a trading evaluation, focus on leveraging price action strategies. By identifying key support and resistance levels, you can better time your trade entries and exits, which helps in cutting down unnecessary risks. Placing stop-loss orders just beyond these levels acts as a safeguard for your capital, while setting clear profit targets ensures you lock in your earnings.
It's also crucial to adjust your position sizes according to market volatility and strictly adhere to the evaluation's drawdown limits. This method helps prevent significant losses, protects your trading capital, and keeps you aligned with your profit objectives. Ultimately, staying consistent and disciplined is essential to successfully passing any trading challenge.
Why is it important to trade during high-liquidity times, and how does timing affect my performance in a trading evaluation?
Trading during high-liquidity periods is crucial for smoother order execution, reduced slippage, and lower transaction costs. These elements become even more critical during trading evaluations, where precise execution and consistency can significantly impact your ability to meet performance benchmarks.
By aligning your trades with high-liquidity times - like when major financial markets overlap - you can achieve better execution quality and minimize the risk of sudden price swings. This approach not only helps you maintain control but also boosts your chances of successfully passing the evaluation.
Related Blog Posts
Start Trading with For Traders
Join our platform to test your trading skills, trade virtual capital, and earn real profits. Access educational resources, advanced tools, and a supportive community to enhance your trading journey.
Start your Trading Challenge